Mmmm Mofongo

The first time I heard about mofongo was on the Food Network. The host was interviewing the chef at Benny’s Seafood (I’m guessing it was Benny) in Miami, famous for their authentic Puerto Rican fare. What struck me about Benny’s take on mofongo wasn’t the flavors, or colors, or textures — it was the way he put the whole mixture into a big cylindrical mortar and then used a baseball bat as a pestle, crushing the fried plantains and chicharrónes to a delicious mush. It just looked cool.

Mofongo with Creole Chicken Stew

First, for those of you that missed that episode… what is mofongo? Mofongo is a dish made out of fried plantains, traditionally mashed together with fried pork skin. It’s popular in Caribbean cuisines, and I see it most associated with Puerto Rico. The plantains form a starchy base upon which a hearty protein is layered. In my case I added a creole-style chicken stew, but you’ll often see shrimp, pork or soup on top as well.

My culinary foray into Puerto Rico began one weekend when I was trying to think of something relatively exotic to make. For a couple reasons, mofongo fit the bill, so after a bit of searching to find the perfect recipe, I was on my way to a local Latin American grocery store to get the ingredients. On the way, I made a call to a close friend of mine and Puerto Rican cuisine expert (hi Chris!) to get the inside scoop on the “right” way to make a proper mofongo. He suggested mixing a sweet (slightly more ripe) plantain in with the green plantains, and advocated topping it with either shrimp or chicken stew. Apparently the cool kids these days lean toward shrimp as a modern and slightly healthier take on a classic.

Plantains

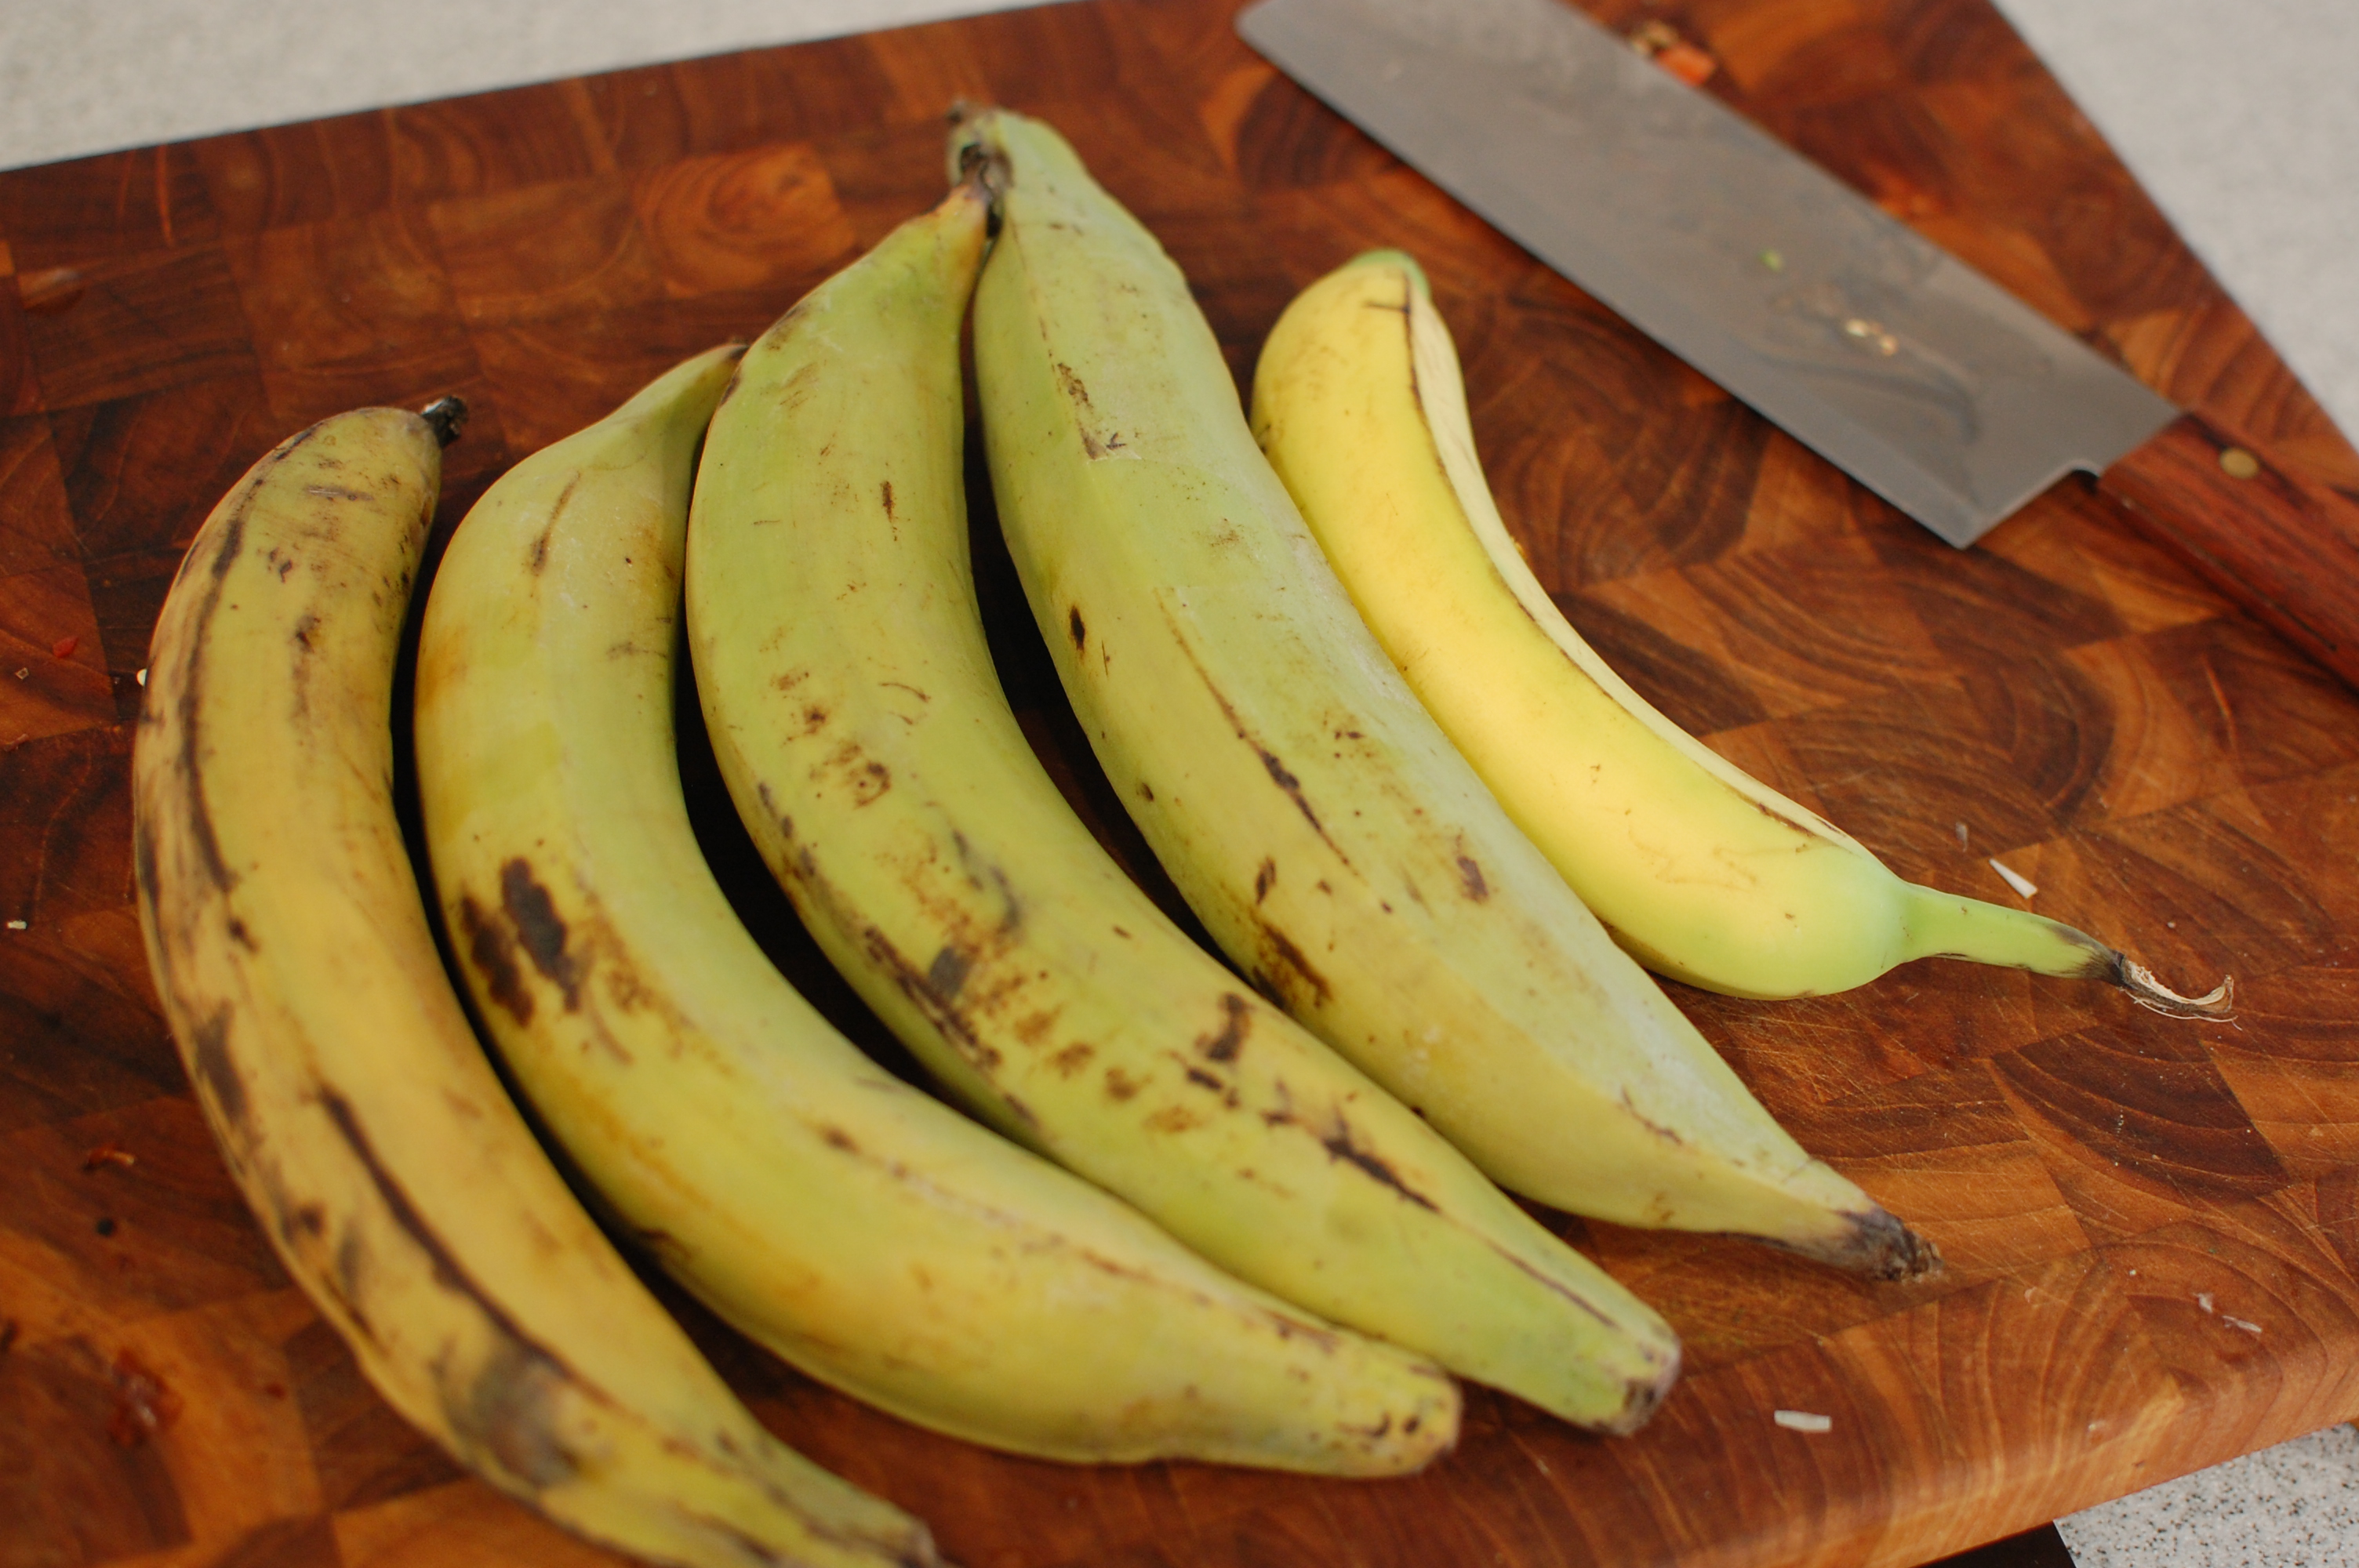
One of these things is not like the others…

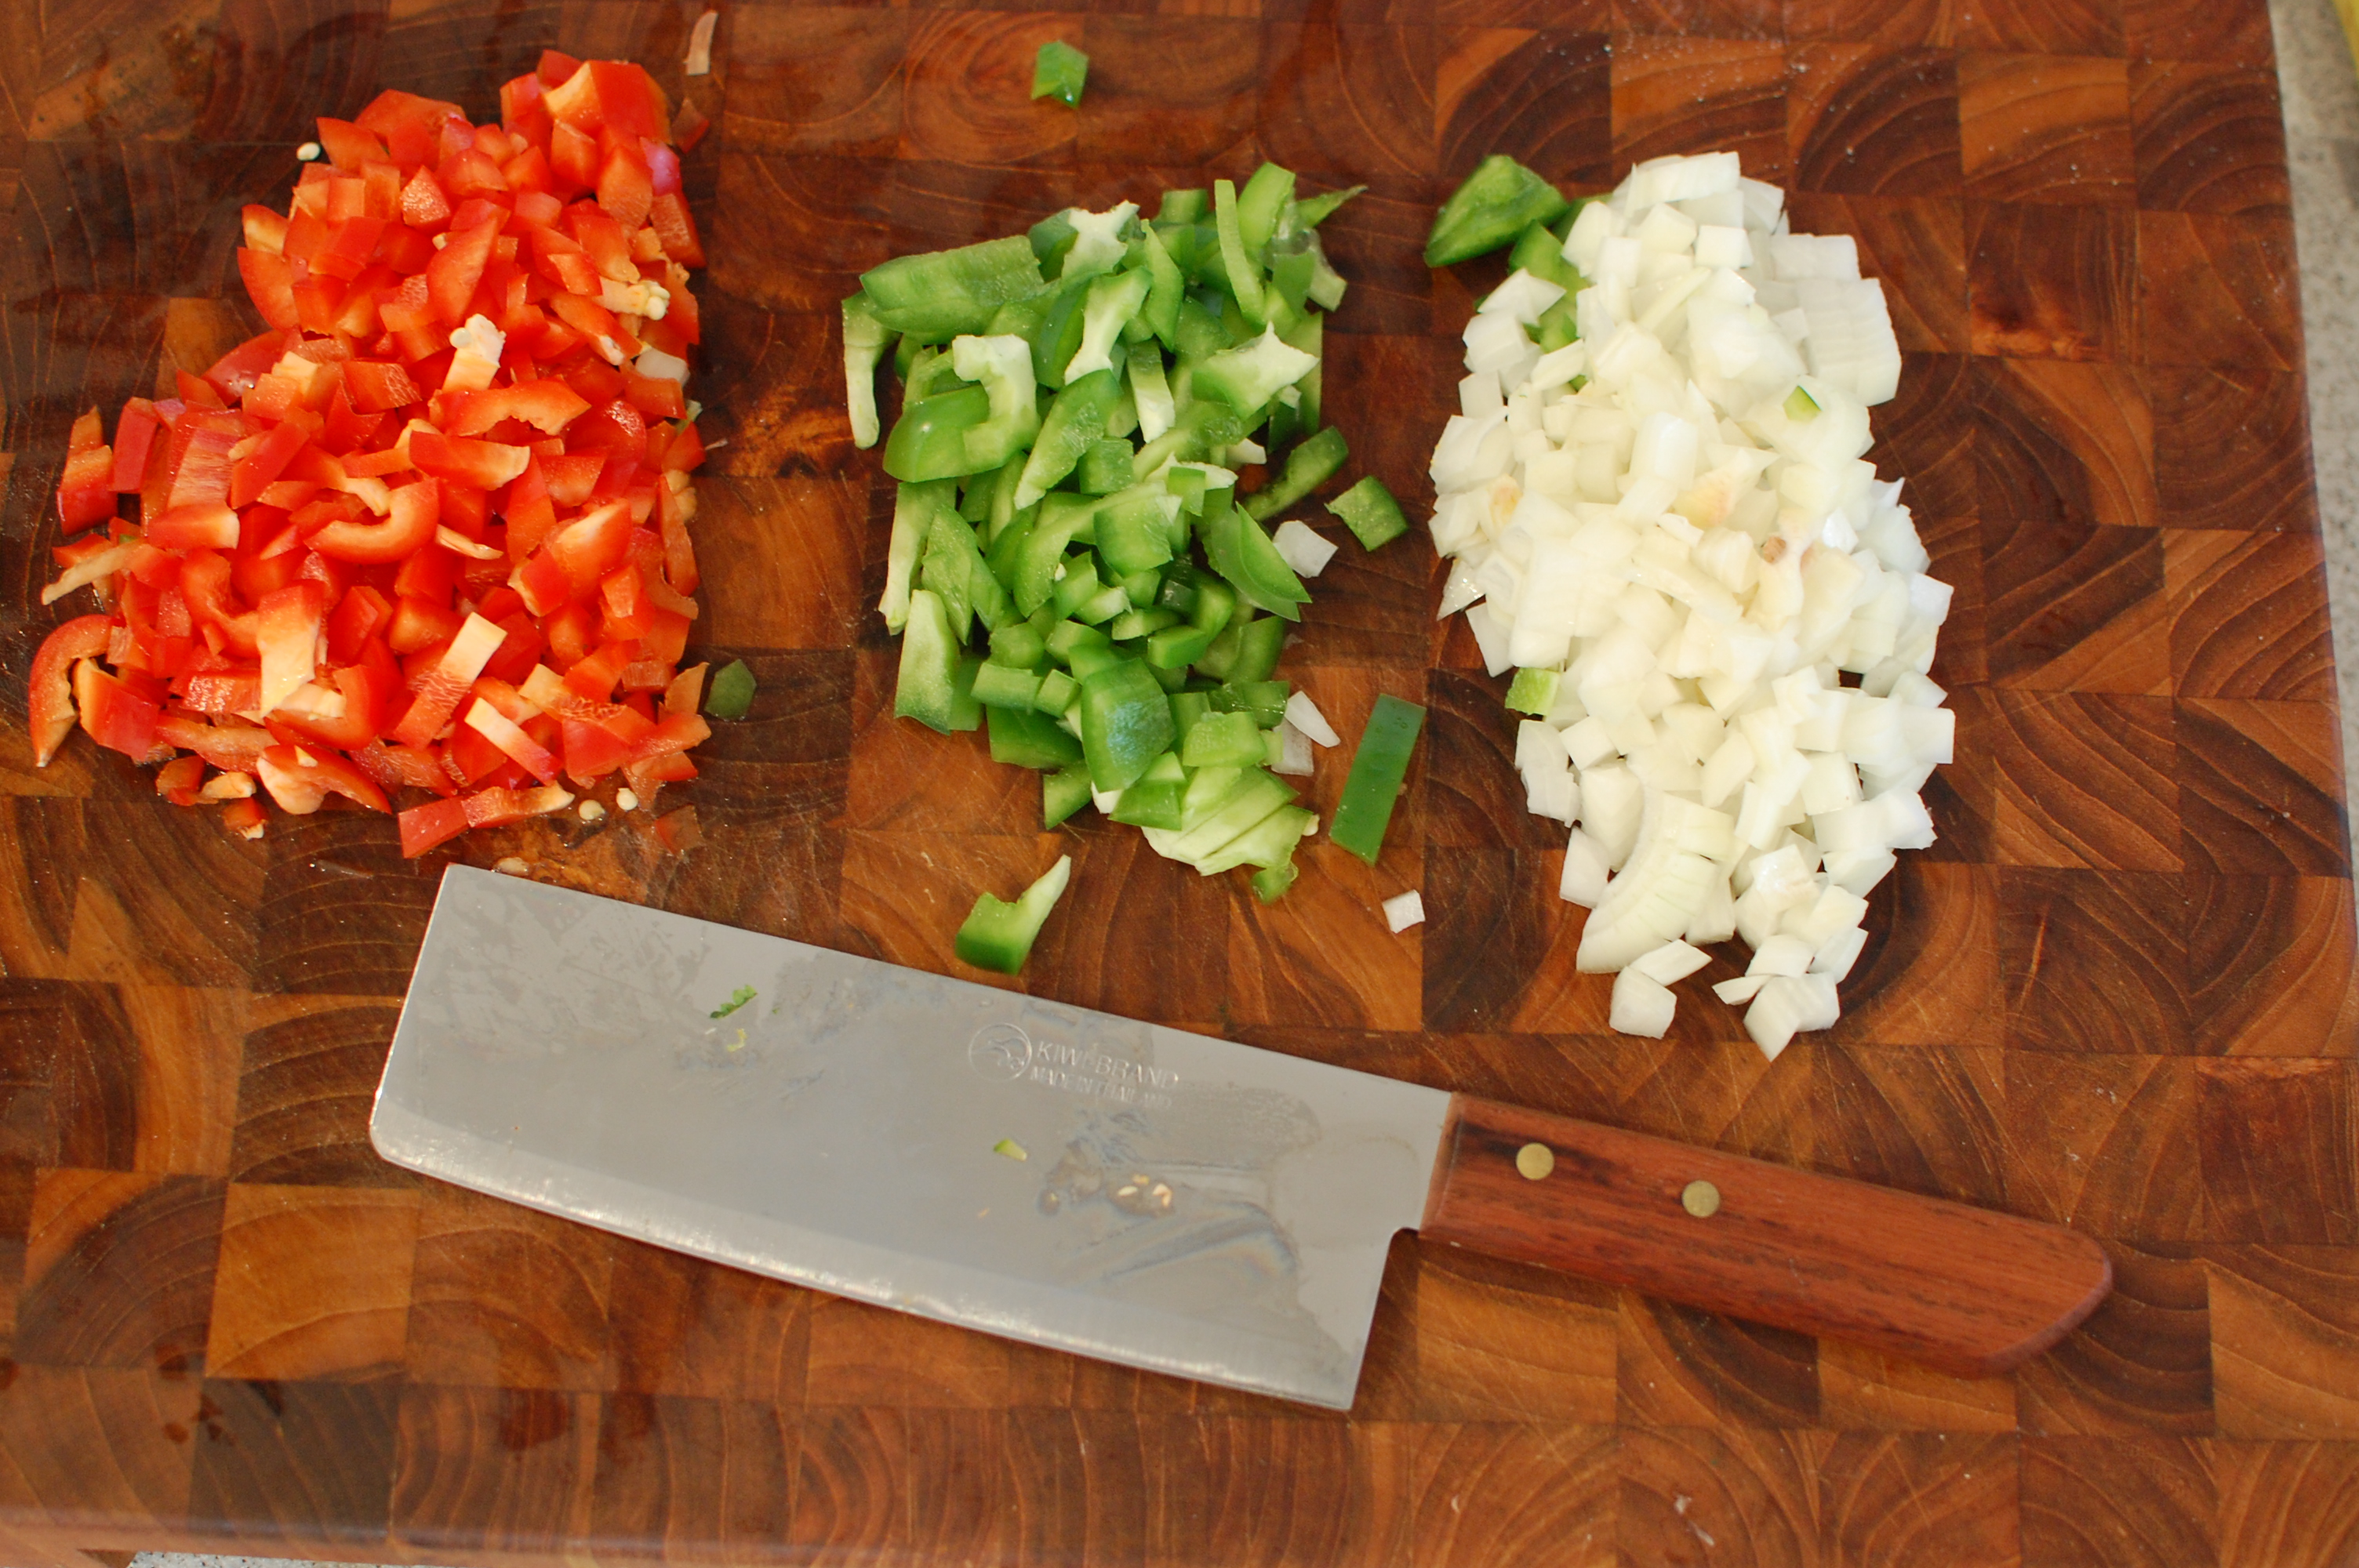
Plantains, pork rinds, chicken, a banana, and sofrito ingredients in hand, I began following the recipe. The first step, as Chris always says, is making the sofrito. Sofrito is the base of most Puerto Rican cuisine, and consists of bell peppers, onions, garlic and cilantro. It resembles (in spirit and composition) mirepoix in French cuisine, holy trinity in Creole cuisine, and probably a variety of other regional flavor bases.

Sofrito

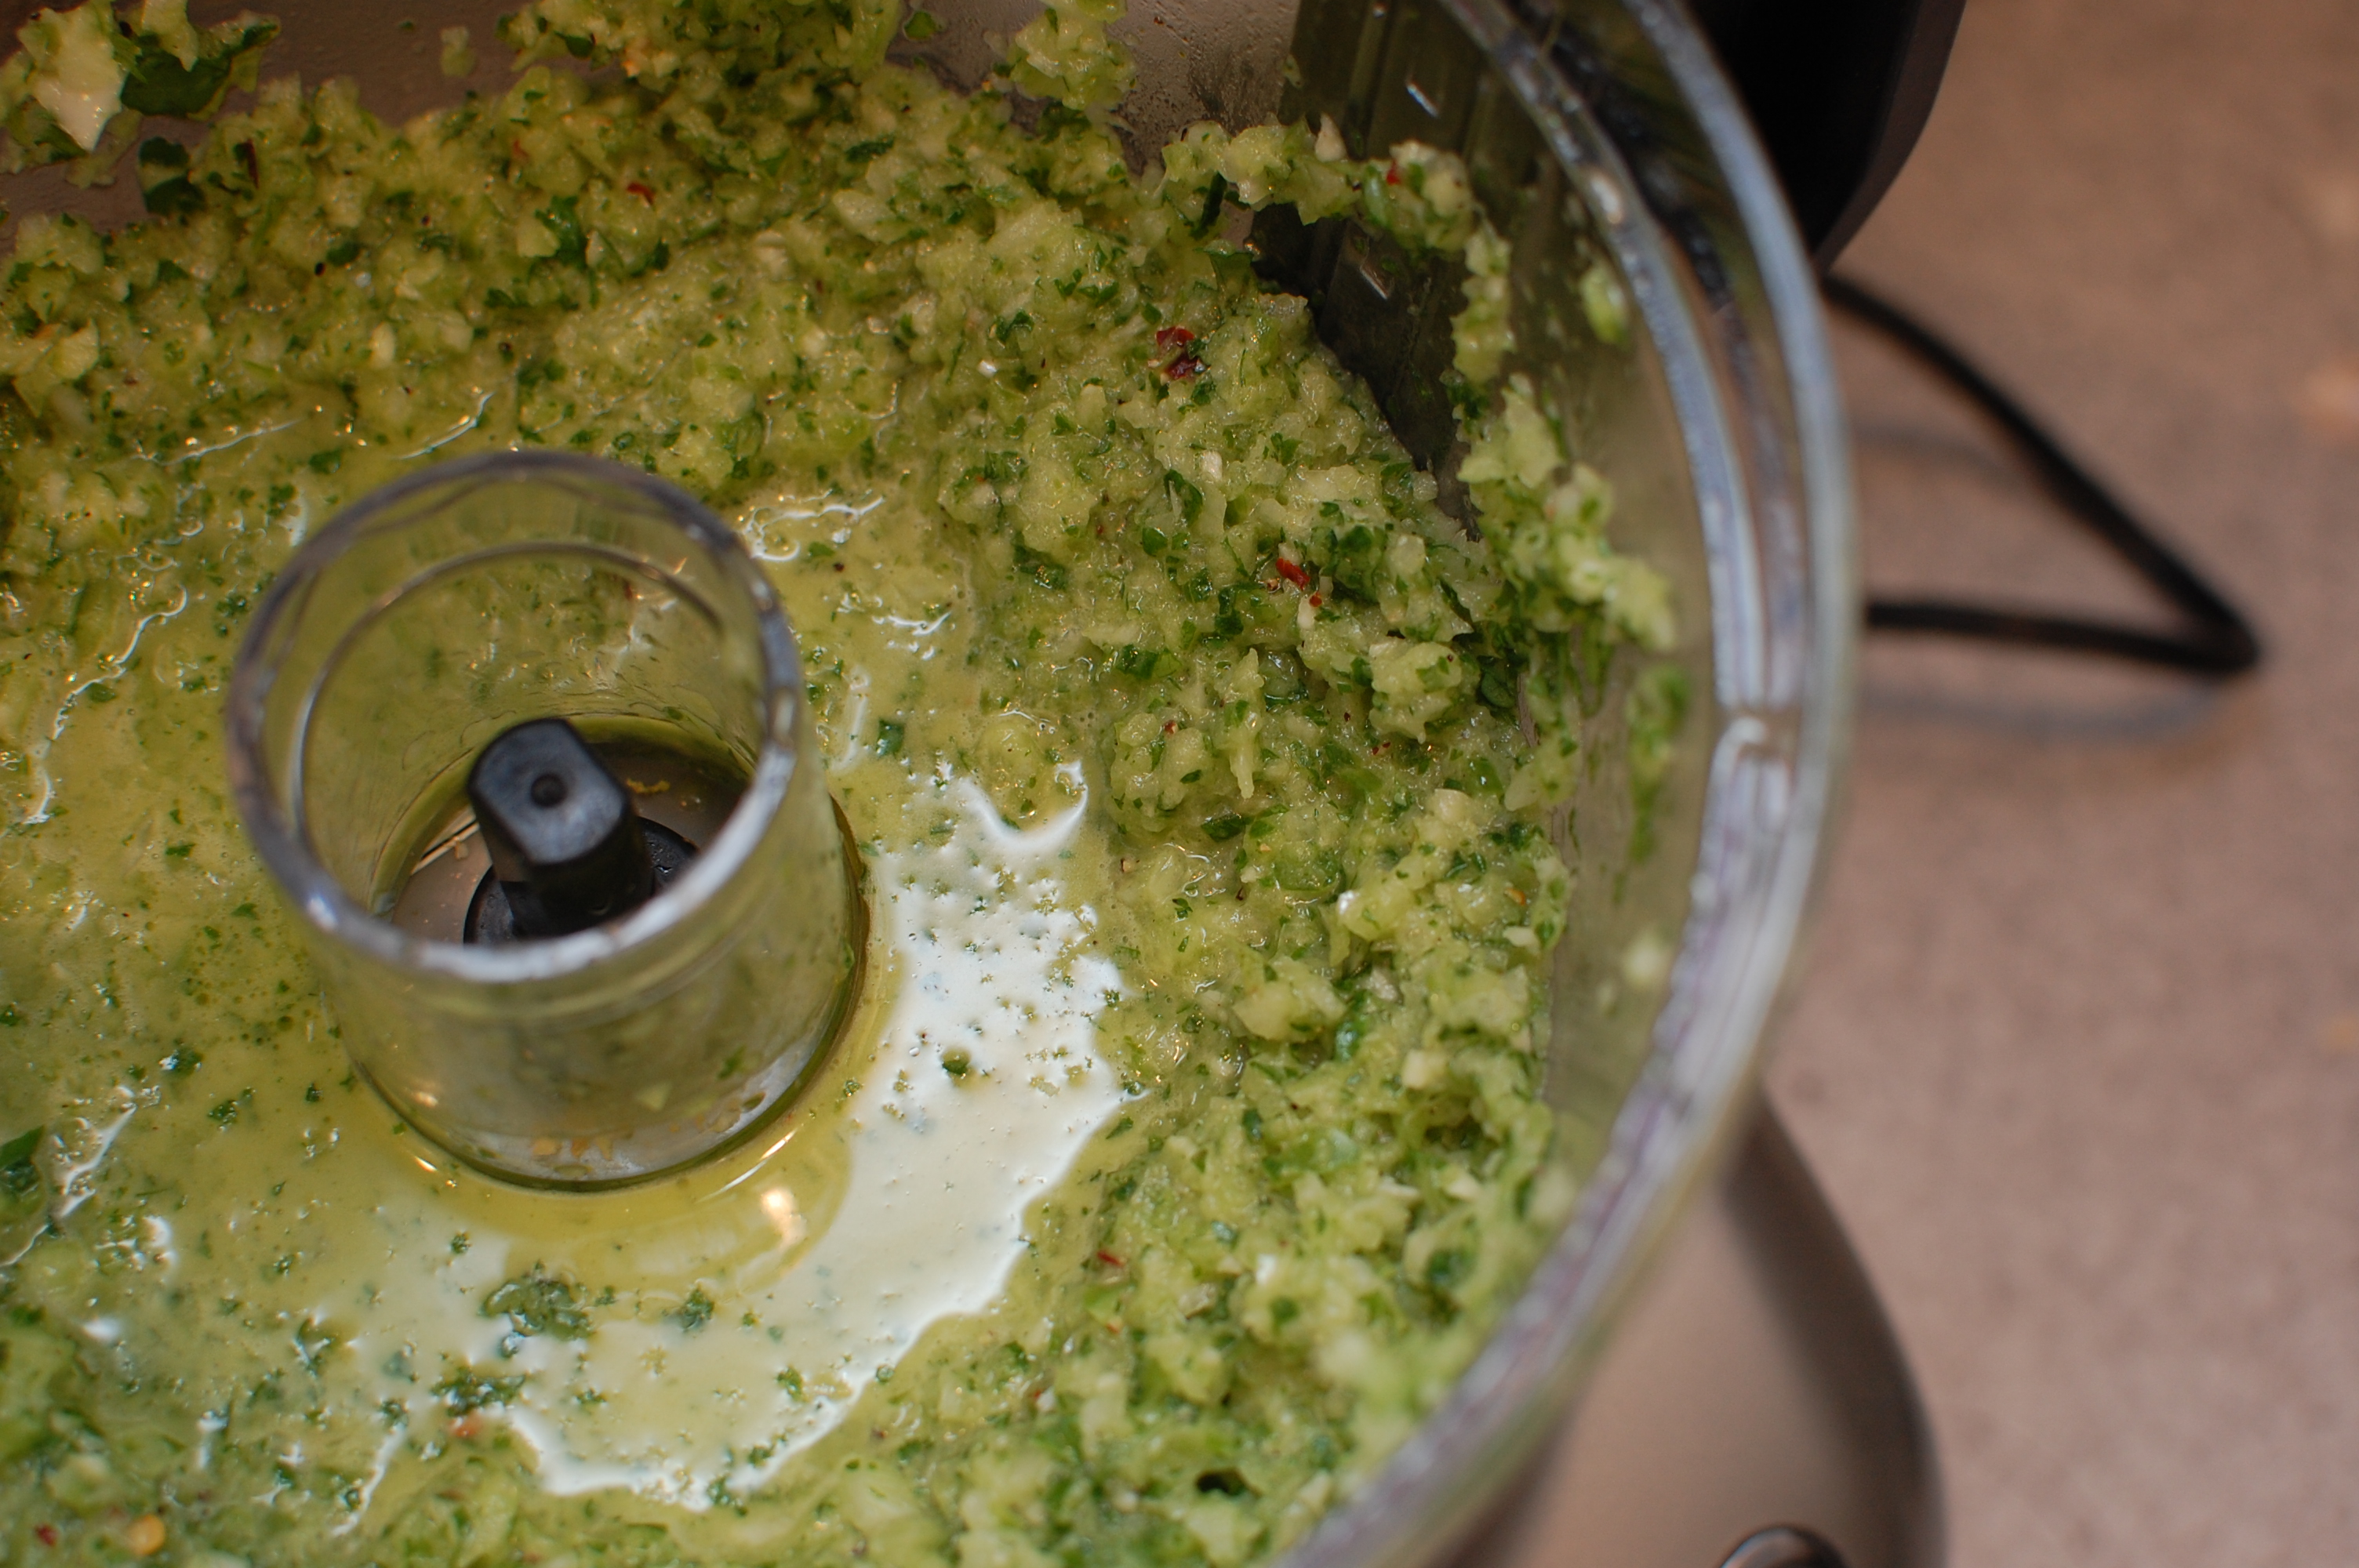
After assembling these ingredients and giving them a spin in the food processor, I cooked them in olive oil until they darkened slightly and started to form a fond (brown bits) on the bottom of the pan. This is the base of the dish, and adds much of the structure and deep flavors, so whenever I cook sofrito, mirepoix, tomato bases or similar, I always make sure to take lots of time and get the browning right.

DSC_0456

As the sofrito was cooking, I took four bone-in, skin-on chicken thighs and put them under the broiler. Ultimately, I planned on cooking the chicken for a long time in the sauce, so my goal was to just get some basic browning (again, brown foods taste good!) on the meat before I incorporated it in to the rest of the sauce. After about 10 minutes or so, the skin on the chicken was a deep mahogany. At this point, I changed my plans slightly — the recipe called for pork rinds to be mashed into the mofongo, but why not amp up the chicken flavor and use the crispy chicken skins instead? To get the crispness I was looking for, I removed the skins, gave them a few more minutes in the heat, then set them aside.

Crispy chicken skins are even better than pork rinds

Crispy chicken skins are even better than pork rinds

The rest of the stew came together unceremoniously — if you’ve ever made stew, gumbo, or chicken the steps will be familiar. To the sofrito base, I added tomatoes, more bell peppers, more onions and some homemade duck stock (I was out of chicken stock) from the freezer. For even more flavor, I used more stock and tomato juice than the recipe called for, and reduced it down after everything came together. Next I added the thighs, cooked vigorously for about 30 minutes, then cooked it on low for a few more hours until we were ready to eat. Right before plating, I removed the chicken from the bones, shredded the meat, and mixed it back in.

DSC_0467

The last step was the mofongo itself. Plantains were a little tricky to peel at first, but once I got them going it was pretty easy. I had bought a banana at the store to use just in case none of the plantains had the slight sweetness that my friend had suggested, but fortunately they were all perfect on their own. I sliced them, and fried them in 375 degree oil in small batches. The small batches are important — it’s incredible how much the oil temperature drops with each new batch, even in a heavy cast iron pot.


DSC_0521
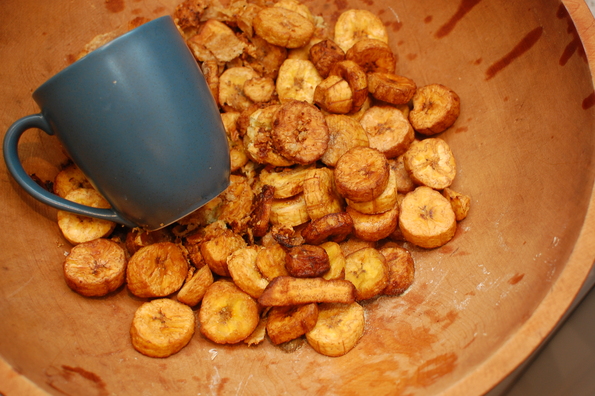
Once all plantains were fried, the last step before plating was mashing. I looked around and found a wood salad bowl that would act as a perfect mortar. Now I just needed the right club to smash them with. Since I didn’t have a baseball bat handy, I first tried the bottom of a glass (too dangerous), the side of a coffee mug with a handle (awkward and kind of dumb), and finally found the perfect smasher — a meat mallet (duh). I mixed in the chopped crispy chicken skin and proceeded to mash away. The mixture was a bit dry, so I added whole milk until I got the consistency I was going for (hard to describe, but much drier and lumpier than mashed potatoes).

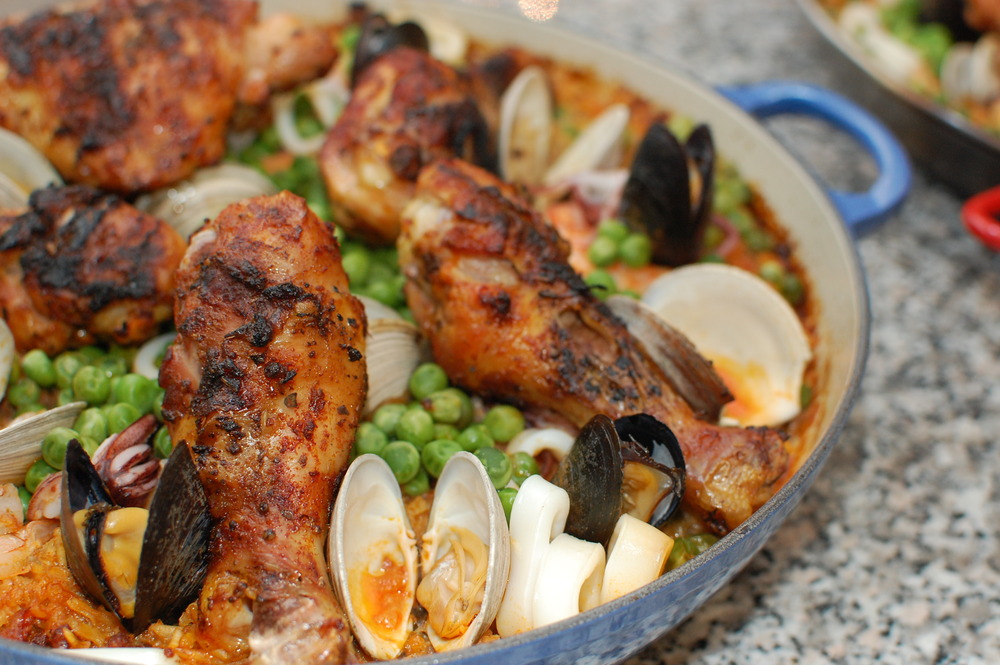
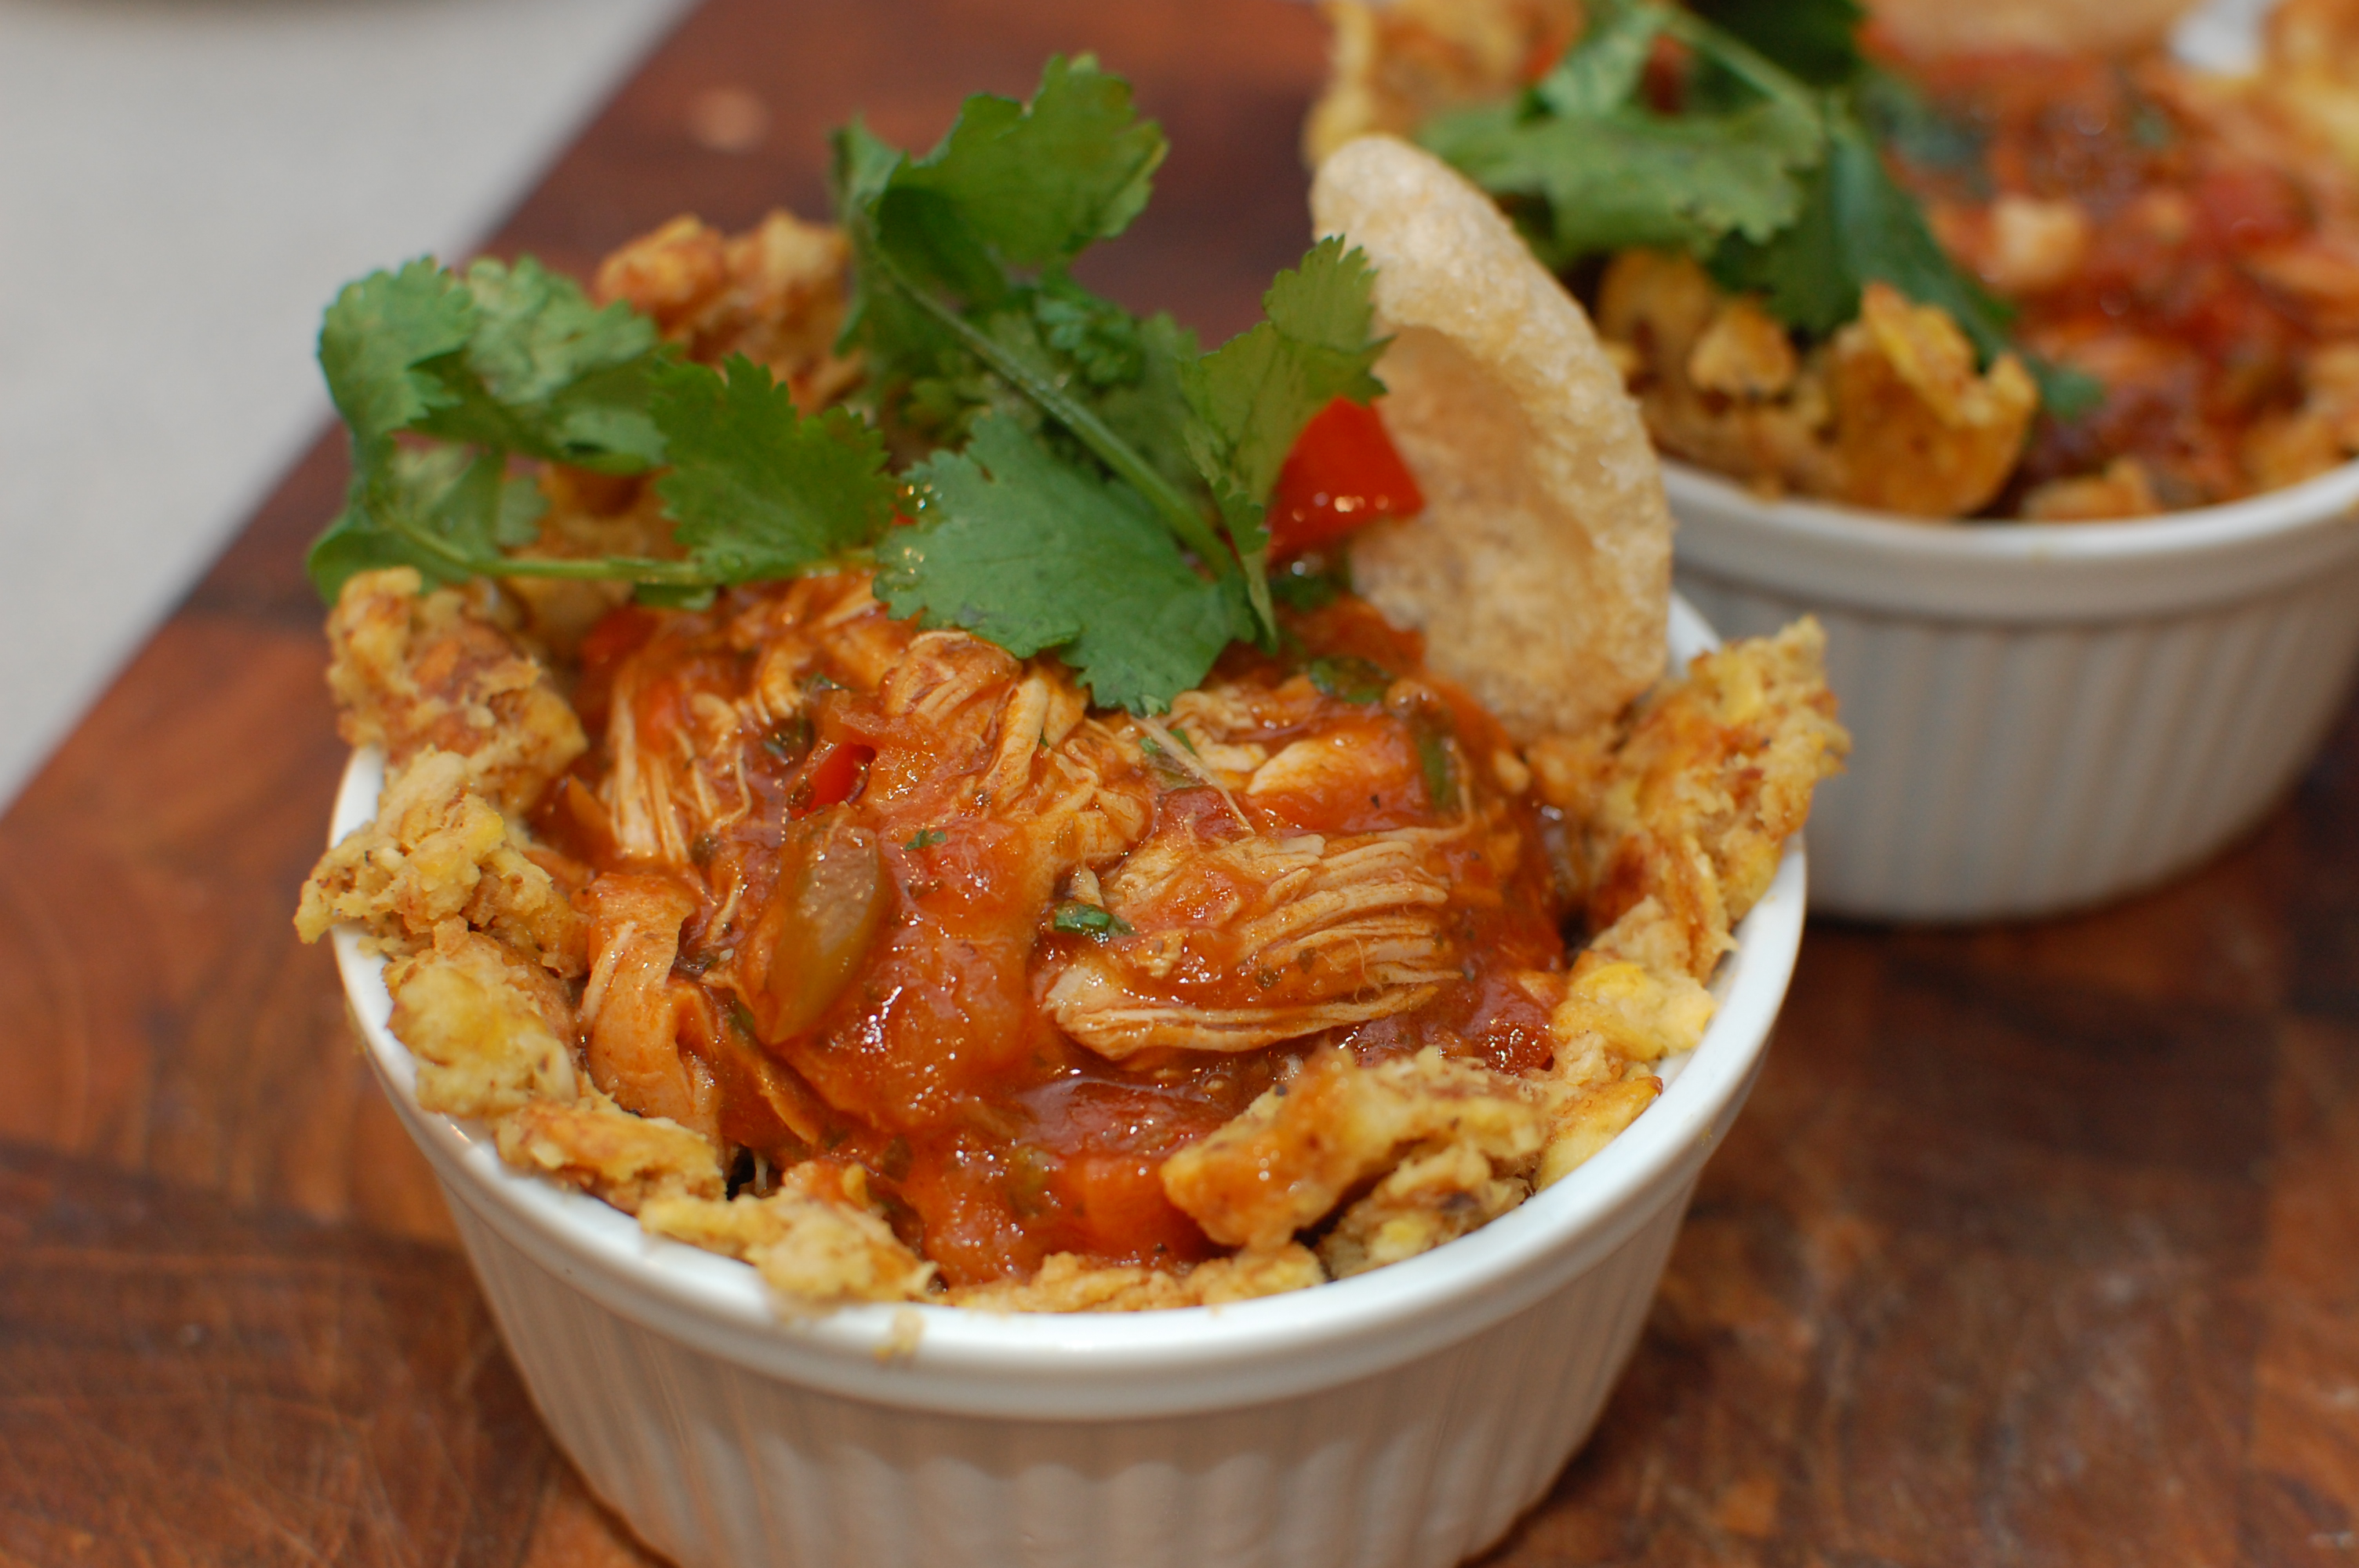
Final step — plating and eating! I formed the mofongo around the sides of a ramekin, ladled some stew on it, and dug in!


Thomas sees bananas and is instantly interested

Thomas sees bananas and is instantly interested


Here’s the recipe from Bon Appetit

Cooking Up Some Kimchi

Kimchi is a controversial dish around my house. It all started about 4 years ago — the first time I attempted homemade kimchi.

DSC_9188

You see, kimchi, more than just about any other food I know, seems to be designed from the beginning to to be pungent. Start with cabbage, no olfactory picnic on its own, and add in fermented shrimp, fish sauce, anchovies, green onions, and garlic. As if that weren’t enough, take all of these ingredients and let them sit at room temperature for about a week. The result is, well, unique.

Four years ago, I set out to make a batch after receiving a huge head of cabbage in our weekly farmers box. I took the biggest vessel we owned — one of those plastic cereal Tupperware containers — and filled it with the ingredients.

DSC_9198

Let’s just say I learned one thing over the ensuing week, and another over the ensuing year: 1) Tupperware cereal containers are not airtight or aroma-arresting; 2) Tupperware cereal containers hold on to certain flavors for a long time. We (well, I, since the wife refused to go anywhere near the container) were eating kimchi-infused Kashi for months.

OK, so after a lead-in like that, I’m sure I have all the readers hooked. So why bother with a dish like kimchi? The simple answer is that there’s really nothing like it. In Korea, it’s said that 95% of the population eats it daily (40 lbs per capita per year), and families make literally tens of pounds of it at once to last them months. Once you get used to it, it’s easy to see why — kimchi has an addictive crunchy, garlic-y, umami, spicy, sour tang that adds an incredible kick to a wide variety of foods. Kimchi fried rice is a slam dunk (try it with a sunny-side up egg), but it’s also just the trick to punch up eggs, tacos, steak, or anything in need of a little flair. In a lot of ways, it’s kind of like a crunchy hot sauce with a lot of character.

DSC_9204

In the jar — where the magic happens!

The health benefits are amazing too — it’s said to be one of the healthiest foods around. The natural bacteria, lactobacilli, are the same as those found in yogurt, and keep your gut functioning properly. It’s also filled with an alphabet of vitamins — A, B and C.

But don’t take my word for it — give it a shot. I used the recipe that I found on Chow.com, but couldn’t get kochukaru (Korean spice powder), so I substituted red chili paste instead. Not exactly the same, and I’m sure my Korean friends would scoff at the switchout, but the taste is still very good. I also found 2 oz of fresh ginger to be way too much, so my recommendation would be to halve that. Once it’s all done, throw it in a big (glass!) jar with a tight-fitting lid, and taste it every few days.

You’ll like it!

Valentine’s Day Roasted Duck with Duck Fat Spaetzle

Valentine’s Day is one of my favorite days to cook. It’s a great excuse to make something extravagant, while avoiding the mobbed, amateur-hour restaurant prix fixe meals. It’s a time to break out that special bottle of wine you’ve been saving, try a complicated new recipe (or dig out an old favorite), and enjoy a quiet, relaxing night and some good music. Last night, we did all but the quiet part — I opened a bottle of 1985 Bordeaux that I had gotten as a 30th birthday present, made a roast duck inspired by duck a l’orange, and took Bon Appetit’s suggestion and listened to one of Sara’s favorite albums — Rumours by Fleetwood Mac. My 4 month old wasn’t so into the “quiet” part, but he at least hung out peacefully with us for a few minutes as we ate our dinner.

DSC_8090

I don’t typically order duck in restaurants, but we had a stunning dish at Le Bouchon last year that paired roasted duck, bigarade sauce, and duck fat spaetzle with peas. The combination blew me away — the fatty richness of the duck, paired with the bright, slightly citrus-y sauce on top of crispy spaetzle left me dreaming about the meal for months. Although I’ve never made roasted duck, when we were digging around for fun things to make this year, duck with spaetzle quickly came to mind.

DSC_8077

I bought 6, but one outsmarted me and refused to be pried open!


DSC_8076

Some old Bordeaux to cut through the rich duck fat


First things first — the spaetzle. I made mine earlier in the day in order to keep things a little simpler at crunch time. You can find plenty of spaetzle recipes on the web, but the ingredients are simple: eggs, milk, flour, salt, pepper. Reader of this blog will recognize my love for eggy mixtures like this — the batter is pretty similar to popovers, crepes, and Grandpa’s dumplings. Once you’ve mixed it all together and let it sit for about 15 minutes, you push it through the holes in a colander into boiling water, which gives the spaetzle “noodles” their orzo-like shape. After I made mine, I tossed them with some butter and refrigerated for a few hours.

DSC_8064


DSC_8059


DSC_8061

Thomas keeps an eye on the spaetzle


Onto the duck. If you’ve roasted a chicken, roasting a duck isn’t too different. Recipes and techniques abound, ranging from boiling and roasting, to just roasting, to roasting low and then blasting with high heat. Whatever you do, either lightly score the skin or prick it with a fork (don’t penetrate the meat) so that the copious fat under the skin can render out — you’ll need it later. I also sprinkled mine with salt, pepper, and Herbes de Provence and stuffed the cavity with orange peels, but if you don’t have that, salt and pepper and thyme if you have it would be great. I ended up starting the duck pretty early and roasting it low at 300 for about 90 minutes then at 425 for another 30 minutes or so. You want the thighs to end up around 170 degrees, and the skin to be golden brown. If I did it again, I’d probably experiment with boiling, as it supposedly renders more fat out — but if you don’t want to fuss with that, you would get great results roasting at 400, flipping 45 minutes in, and then watching it until the skin is golden and the temperature is 170.

DSC_8049

Oranges went inside the cavity


The bigarade sauce requires duck fat, so start it after you’ve been roasting the duck for enough time to get at least 2 Tablespoons of pan drippings. I used 2T of fat and probably and extra 1T of browned pan bits — I suggest this if you have some you can scrape up. Start with the roux — slowly whisk in 2T of flour and cook it for about 4-5 minutes over low heat until it gets light brown and/or it smells “nutty” — like fresh bread. To this I added stock (I only had turkey stock, but chicken or duck stock would be even better), apple cider vinegar, the juice and pulp of a fresh orange, a small amount of sugar, and some salt. After the first tablespoon of vinegar, it seemed like it needed a bit more brightness, so I added another tablespoon. Tasting the sauce in isolation, it didn’t blow me away — but combined with the duck and spaetzle, the tangy, slightly sweet, slightly orange-y flavor worked perfectly.

DSC_8085

Crispy skin!


Finally, the best part — the duck fat spaetzle. Pour a generous amount of duck fat (and browned bits!) from the bottom of your pan into a frying pan (I used a cast iron skillet), crank the flame to high, and put on top of it several scoops of the spaetzle and a scoop of peas. I suggest somewhere around 3 parts spaetzle and 1 part peas — trust me, the peas are important (I don’t even generally like them). Peas add subtle depth of flavor and sweetness. Brown the spaetzle for about 10 minutes — make sure to “flip” the spaetzle every 2 minutes or so to keep it from burning. I used a spatula and just scraped the bottom and flipped. What will eventually come out is amazing — browned, rich goodness. This is why we cook! Make sure to taste it and add salt if needed.

DSC_8088

Nicely browned and crispy


That’s it! Carve the duck (watch YouTube if you need pointers), place it on top of the spaetzle, pair with a full-bodied wine, and enjoy!

Recipes (use these as starters, don’t be afraid to modify!)

Duck Bigarade — I just used the sauce from here

Roasted Duck — I kinda started with this recipe but didn’t really end up following it that much. But it’s a place to begin.

Spaetzle


Monster From the Deep

I’ve always been a little apprehensive to cook octopus. Read about it on web, and mostly what you’ll find are remedies to make the meat tender. Some advocate hitting it exactly 73 times against a rock near the water front (yes, has to be along the water front). Others say you have to leave it hanging in the sun for at least 3 days. My favorite — boil it with a cork. Perhaps a tipsy cook dropped his wine stopper into the pot once, and found that the meat seemed to be especially edible afterwards. Who knows.

I love this picture -- it just seems to scream "sea monster"

I love this picture — it just seems to scream “sea monster”

The truth is, cook it right, and the octopus will reward you with pleasantly firm, oh-so-slightly chewy, mild flavored meat. I’ve had it a few ways — in pasta, cold, in salads — but nothing compares to a hint of char and the citrusy tang of the Greek Holy Trinity: olive oil, oregano, and lemon. I made the dish as an appetizer, but found myself unable to devour about 2 out of the 3 pounds. (And at $3/pound, it’s about the best taste for your buck you can find!)

DSC_5478


I boiled mine for about 45 minutes with a bay leave, some wine, and yes, a cork (it would be toying fate to forego one). You’ll know it’s done when piercing it with a knife feels a bit like piecing a potato. If in doubt, cut off a small piece and see if it’s still overly chewy.

From there, I tossed it in black pepper, olive oil, oregano, lemon and salt and allowed it to marinade for a few minutes. I grilled it for about 10 minutes over high heat — enough to get a bit of char on the outside but not overcook, and then removed it. I added a bit more of the pepper/oil/lemon/oregano vinaigrette and served it over a bed of garlic spinach. A few dashes of aleppo pepper added some nice color and a hint of spice.

My Favorite Chicken

Some of my favorite kinds of recipes are the ones that don’t require a lot of effort, but taste like they’ve been in the works all day. Mussels definitely fit the bill, but when I’m looking for an entire dinner, my go to is a chicken recipe that I made up a few years ago when trying to find a more interesting way to cook chicken thighs. I’m sure I’m not the first one to discover the delights of cooking chicken parts on top of a bed of onions, mushrooms and carrots, but I’m unquestionably a beneficiary. The result is a one-pot dish that takes about 10 minutes of prep but more than stands up for a fancy Sunday dinner.

Chicken with Herbs

This recipe is about as simple as it gets, and that’s the point. It’s not a recipe to haul out the cookbook to make, nor is it something that you need to worry about which ingredients you’ve forgotten. At the essence, it’s 4 ingredients — chicken, carrots, mushrooms, onions. Add some white wine, herbs, and cornstarch, and it’s a meal. The drippings from the chicken flavor the onions, mushrooms and carrots as they cook, adding a richness that oil alone doesn’t match. Finish it off with a splash of white wine and a sprinkle of corn starch, and you have a rich sauce to carry the flavor through the meal.


Recipe

Ingredients

  • 4 or 5 chicken thighs, as many as will fit uncrowded in your skillet
  • 4 carrots
  • A box of mushrooms
  • 1 large or 2 medium onions, sliced
  • Olive oil
  • 1/2 cup white wine
  • Cornstarch
  • Herbes de Provence (or thyme or oregano)

 Directions

Preheat oven to 425 degrees.

Slice carrots, mushrooms and onions. Place in cast iron skillet (or another oven-proof skillet) and drizzle with olive oil, salt, herbs and black pepper. Mix until coated.

Place chicken thighs on top of vegetables. Sprinkle thighs with salt, herbs and pepper.

Roast until thighs are at 165. This generally takes about 45 minutes.

Remove thighs from skillet, set aside. Put skillet on the stovetop and crank up the heat. Add white wine, about 1/2 cup or to taste. Sprinkle cornstarch a teaspoon at a time, stirring frequently, until sauce is thickened slightly.

Showin’ Off Your Mussels

Mussels are a special occasion food — the best I’ve ever had was at the Auberge du Soleil hotel bar in Napa, California. The Auberge bar is perched on a hill, overlooking the entire valley. The cocktails were great, the mussels were spectacular. Sure, a big part of the experience was the view and the company, but the Staube pot filled with buttery broth, heady herbs and meaty mussels alongside a loaf of crusty bread certainly capped everything off.

mussels3

But here’s a little secret — for all the fanfare, mussels are surprisingly easy to make. I’d certainly consider them one of the best bang-for-your-buck dishes out there. Trying to impress a girl (or guy) with a great dinner on a special occasion? You can’t go wrong with mussels and champagne. They’ll take you about 20-25 minutes, start to finish, and most of that time they’re just sitting in the pot, soaking up flavor.

Start by picking up a bag of mussels at the store — look for minimal cracked shells and a fresh scent that smells like the ocean. When you get them home, spot check them all as you drop them into a cool bowl of a water, throwing away any cracked or open (a little open is OK, a lot open is not) ones. Let them sit in the water for about 5-10 minutes to clean them off.

DSC_5060

The broth is the fun part — Ina Garten has a complicated recipe that takes an hour and looks delicious. I, on the other hand, typically just wing it — the essential parts are butter, herbs, white wine and garlic. Preheat the oven to about 350 degrees for your bread. Start by adding about 2 Tbsp of butter (more is better) to a cast iron dutch oven or large saucepan. If you have about 1/2 of a finely chopped onion or a shallot, add it and cook until soft, about 4 minutes. Add 2 cloves of minced garlic and a sprig of fresh thyme (or about 1/2 tsp of dried thyme). If you’re feeling complicated, you can add in a teaspoon of flour at this stage and brown it a bit — it will thicken the final broth slightly. From here, add about 1/2 bottle of white wine (or less wine and some chicken broth or water if you prefer) and bring to a simmer. Pour out the cold water that your mussels are swimming in and add them to the pot — you don’t need to cover them all with liquid, as steam will cook the upper ones. Now is also a good time to put the bread in the oven.

DSC_5074

Put a lid on the pot and cook the mussels for about 10 minutes, or until all of them are opened. Serve alongside the bread, and throw away any mussels that didn’t open. Crack a bottle of champagne, and you’re an instant hero.

American Barbecue in a Japanese Grill

Kamado grills, which most Americans know by the Big Green Egg brand, are renowned for rock-solid temperature control, a wide range of cooking intensities, and incredibly barbecue flavor. Costco recently carried the Vision Kamado grill, which is a pretty strong competitor to the Big Green Egg at a great price. I picked one up recently, along with a nice piece of brisket, and took a low-and-slow spin in the backyard.

DSC_5144

My last foray, several years ago, into real barbecue began with a big hole in my parents’ backyard and ended with the less-than-fully-cooked pork shoulder spending some time in the oven. Although ended up tasting great, I was looking forward this time around to having more control over the process than a shovel had given me.

Loosely following the instructions at AmazingRibs, I first dry-rubbed the brisket and let it sit in the fridge overnight. Early the next morning, I filled the fire bowl on my kamado to the brim with natural charcoal, added some hickory chips and lit it up. When the temperature hit 225F, on went the brisket. After about 9 hours (and, more importantly, an internal temperature of 204F), I took the meat off and put it in a cooler that had been warmed slightly, and let it sit for about 90 minutes.

DSC_5126

The meat was a huge hit. A few observations that worked well for me:

  • Some sites (AmazingRibs included) talk about trimming the fat cap and other even suggest it. Don’t trim the fat cap. Brisket is a fairly lean cut, and that fat is delicious in the final product. If you don’t want to eat it, cut it off your own piece, but don’t deny your guests the succulent fat
  • Take advantage of the long rest as you time dinner. The rest period can be anywhere from about 20 minutes to almost 2 hours. Use this time as slack as you prepare the other stuff and pull dinner together.
  • A good thermometer that you can put in the meat is key. This saves you from having to continually open the lid

Check out AmazingRibs for directions and the recipe for the dry rub.

The Chicken to Beat

You’d never think to order it, but one of the best things on the menu at The Publican in Chicago is the farm chicken. Starting with a fresh, local, organic chicken, Publican chefs marinade the bird in a sweet, lemony, peppery glaze and grill it until the skin is lightly charred and crispy. What comes out is a remarkably juicy and perfectly seasoned piece of chicken better than just about any you’ve ever had.

Publicanchicken1


Last weekend, I set out to recreate this delicious meal at home. Fortunately, Chef Paul Kahan gave the New York Times a glimpse of his magical recipe. It’s a combination of olive oil, brown sugar, lemon, garlic, spanish paprika and oregano that smells amazing as it comes together. After removing the backbone from the chicken, I set it in a bowl and covered with the thick marinade and allowed it to rest in the refrigerator for several hours. Every hour or so, I’d flip it over and baste a little more to ensure maximum coverage with the delicious mixture.


Grilling was easy — just follow the recipe and use indirect heat, basting every so often. I highly recommend grilling and not roasting — the sugar in the marinade caramelizes on the skin and leaves the outside with a perfect crispy and sweet char.
Dsc_3865
I served it with a roasted potato and parsnip mixture, redolent of olive oil and oregano, and some garlicky sauteed Russian red kale.


Recipe
Publican Chicken via The New York Times


Paella Night

Last night, Sara and I hosted 6 of our friends for a Spanish-themed dinner party. It was the biggest full-on dinner party we’ve had so far, and I had promised paella for the crowd. I’ve made paella several times, but this was the most people I’ve ever cooked a full dinner for, so it was a bit more intimidating than a normal Sunday dinner. We started cooking and preparing at about noon that day, and had everything in place by the time the guests arrived.

Dsc_3263
The night started with some appetizers — Sara made her amazing bacon-wrapped, almond-stuffed dates. If you’ve had normal bacon wrapped dates, let me tell you, the almond is a revelation. Dipped in a tangy sauce made with apricot jelly and balsamic vinegar, these little rolls are heaven on a toothpick (Unfortunately, I don’t have a picture of these, or Sara’s equally amazing flan — but if she starts a food blog, these should be the first entries). On my end, I made a tortilla española, or Spanish omelet. One of my go-to tapas, tortilla española is made with pan-roasted potatoes and onions, bound together in omelet form with beaten eggs. I topped it off with a dollop of garlic saffron aioli (piped through the corner of a ziplock bag) and finished with a shake of Spanish paprika. The creamy, saffron-spiked aioli and bright, smoky paprika went perfectly with the savory, salty goodness of the onions and potatoes, so if you make the tortilla, do the aioli too. We rounded out the first course with a delicious selection of Spanish olives, tomatoes and cheeses, courtesy of my friend Caroline. Along the way, we staved off thirst with crisp, bubbly Cava (courtesy of Chris, Mike and Jen-Jen) and cool, fruity, deep purple sangria (thanks JM2K).


Dsc_3252


The main attraction was, of course, paella. There are a few things in my mind that make a great paella — the occasional bite of smoky chorizo, the crispy rice (called socarrat) at the bottom of the pan, and the sweet floral aroma of saffron that hits you as you bring the rice to your mouth.


My general procedure is to begin with spicy chorizo, sauteeing it until the sausage pieces turn a dark brown, almost black. Chorizo is a blood sausage, so it’ll get nearly black when they’re done — wait for this stage, and you’ll be rewarded with crisp, crumbly slices. From there, I add my onions and garlic, sauteeing them for about 5 minutes in the chorizo fat. Next comes the rice, enough to cover the bottom of the pan about a quarter inch. The next steps will be familiar to those of you that have made risotto. Toast the rice for a few minutes until it starts to get a bit brown, fragrant, and crackly. Then, add in your liquid a few ladlefuls at a time, allowing the rice to absorb it slowly. For my liquid, I combine chicken stock and clam juice, and add the shells from the shrimp. I simmer these shells for a while (about a half hour if you have the time, longer is fine too) to add a fresh shrimp flavor, and then remove them. About 5 minutes before you’re ready to add the liquid to the rice, crumble a generous pinch of saffron into the broth and allow it to infuse, turning the stock a bright shade of yellow.


Continue to ladle the stock in until most of the liquid is absorbed — I generally shoot for 1.5 cups of liquid for every cup of rice. When you’ve hit your target, start adding your seafood, peas and chicken. I take a more-is-more approach and add mussels, clams, calamari, shrimp, peas, and chicken. This time, I pre-cooked the chicken on the grill (but not all the way) to give it crispy, crackly skin before it went in the pan. Finally, I covered my pans loosely with foil and stuck them into the oven for about a half hour to cook the seafood and let the rest of the liquid absorb. Traditionally, paella is cooked entirely over an open flame, so the oven part was cheating; however, with guests over, I was happy to let the food cook hands free for a half hour or so while I chatted with my friends.


We finished off the night with an outstanding vanilla orange flan that Sara made. Flan is in my top three favorite desserts (with key lime pie and tres leches cake), so this capped off our fiesta perfectly.


—-
Recipes


I kind of just winged it for the dishes I made above, but I read these as a starting point. Use them as a start, but feel free to make modifications along the way


(Notes: used chicken stock, clam juice, shrimp shells as the liquid. No lobster, used shrimp. Used his spice rub for the chicken and it was good)


(Note: I didn’t use anywhere near as much oil as they call for — just add a few tablespoons and sautee the potatoes and onions until brown. Add more oil if you feel like the mixture is sticking. I also never flipped the omelet — I cooked on the stovetop in a cast iron pan, and covered it for the last few minutes until the top set.)


(Note: instead of roasting the garlic, I deep fried it in about 1/4 cup of canola oil. When it cools, you can then use the garlic-infused oil to add more flavor to the aioli. Also, this recipe makes WAY too much — I used one yolk, 1 Tbsp of lemon, a pinch of saffron and the added oil as necessary to create the immulsion. Even with 1 yolk, it was a HUGE amount)

Cool Ingredient: Romanesco Broccoli

There aren’t a lot of ingredients as visually stunning as Romanesco broccoli. Its shape is a fractal — a self-repeating collection of florets that seem to swirl on, tinier and tinier, forever. I don’t often see it at the store (we get it from time to time in our weekly farm box), but I’m sure if you look hard enough at Whole Foods you’ll see it every once in a while.

Dsc_3166
The texture is much like cauliflower, but the flavor is unquestionably broccoli. We got a bunch last week, and made veggie pizza with it. Give it a shot next time you want to jazz up traditional broccoli with something a little trippier.


We ended up stumbling upon a winner with the broccoli pizza, so I’ve added the recipe below.


Recipe: Broccoli Veggie Pizza
Ingredients:
1 batch of homemade or store-bought pizza dough
1 bunch of Romanesco broccoli (or regular broccoli)
1 container of white button mushrooms, sliced
1 onion, sliced
1 ball of fresh mozzarella (torn or cut in pieces), or 1 bag shredded mozzarella
1 canned whole tomatoes, drained (diced or crushed will work too)
1 tablespoon olive oil
1 clove garlic
Dash or two of red wine vinegar
Coarse salt and pepper
Additional olive oil for brushing crust


Heat oven and pizza stone as hot as you can get it. Mine goes to 550 degrees or so if I set it to broil.


Sauce:
Combine canned tomatoes, garlic, tablespoon olive oil, red wine vinegar and salt and pepper in a food processor. Process until the consistency of sauce. Simmer in saucepan over low heat for about 20 minutes, or until sauce thickens and garlic is fragrant. If you don’t have a food processor, just use crushed tomatoes and dice the garlic up very finely before simmering.


Onions and mushrooms:
Sauté mushrooms in a bit of olive oil until they’ve released most of their liquid. Add a bit more oil and onion slices, sauté everything until caramelized.


Broccoli:
Steam for 6-7 minutes until tender but not mushy.


Pizza:
Toss the pizza crust and place on a peel or baking sheet. Lightly brush crust with olive oil and sprinkle with salt and pepper. Spread cooked sauce on oiled crust. Sprinkle onions and mushrooms and then add pieces of broccoli. Top with mozzarella pieces or shreds.


Cook pizza on stone until crust is golden brown and top is bubbly.